

Josh’s Tips & Tricks: Chipping with only one club
Intro
Hello folks and welcome to this weeks tips and tricks. I’ve been lucky enough to visit Windmill this week to unpack all of the new 2021 products! It’s a really busy time as we prepare for the re-opening and I can’t wait to start custom fitting again because this year’s products are unbelievable.
This week we’re going to look back at chipping because it won’t be long now until you can get back on The Mill or your club’s short game facility to practice your chipping. You can however practice what we talk about in your garden if you don’t mind taking a small divot out of your grass and don’t hit towards any windows!
Chipping with a lofted club
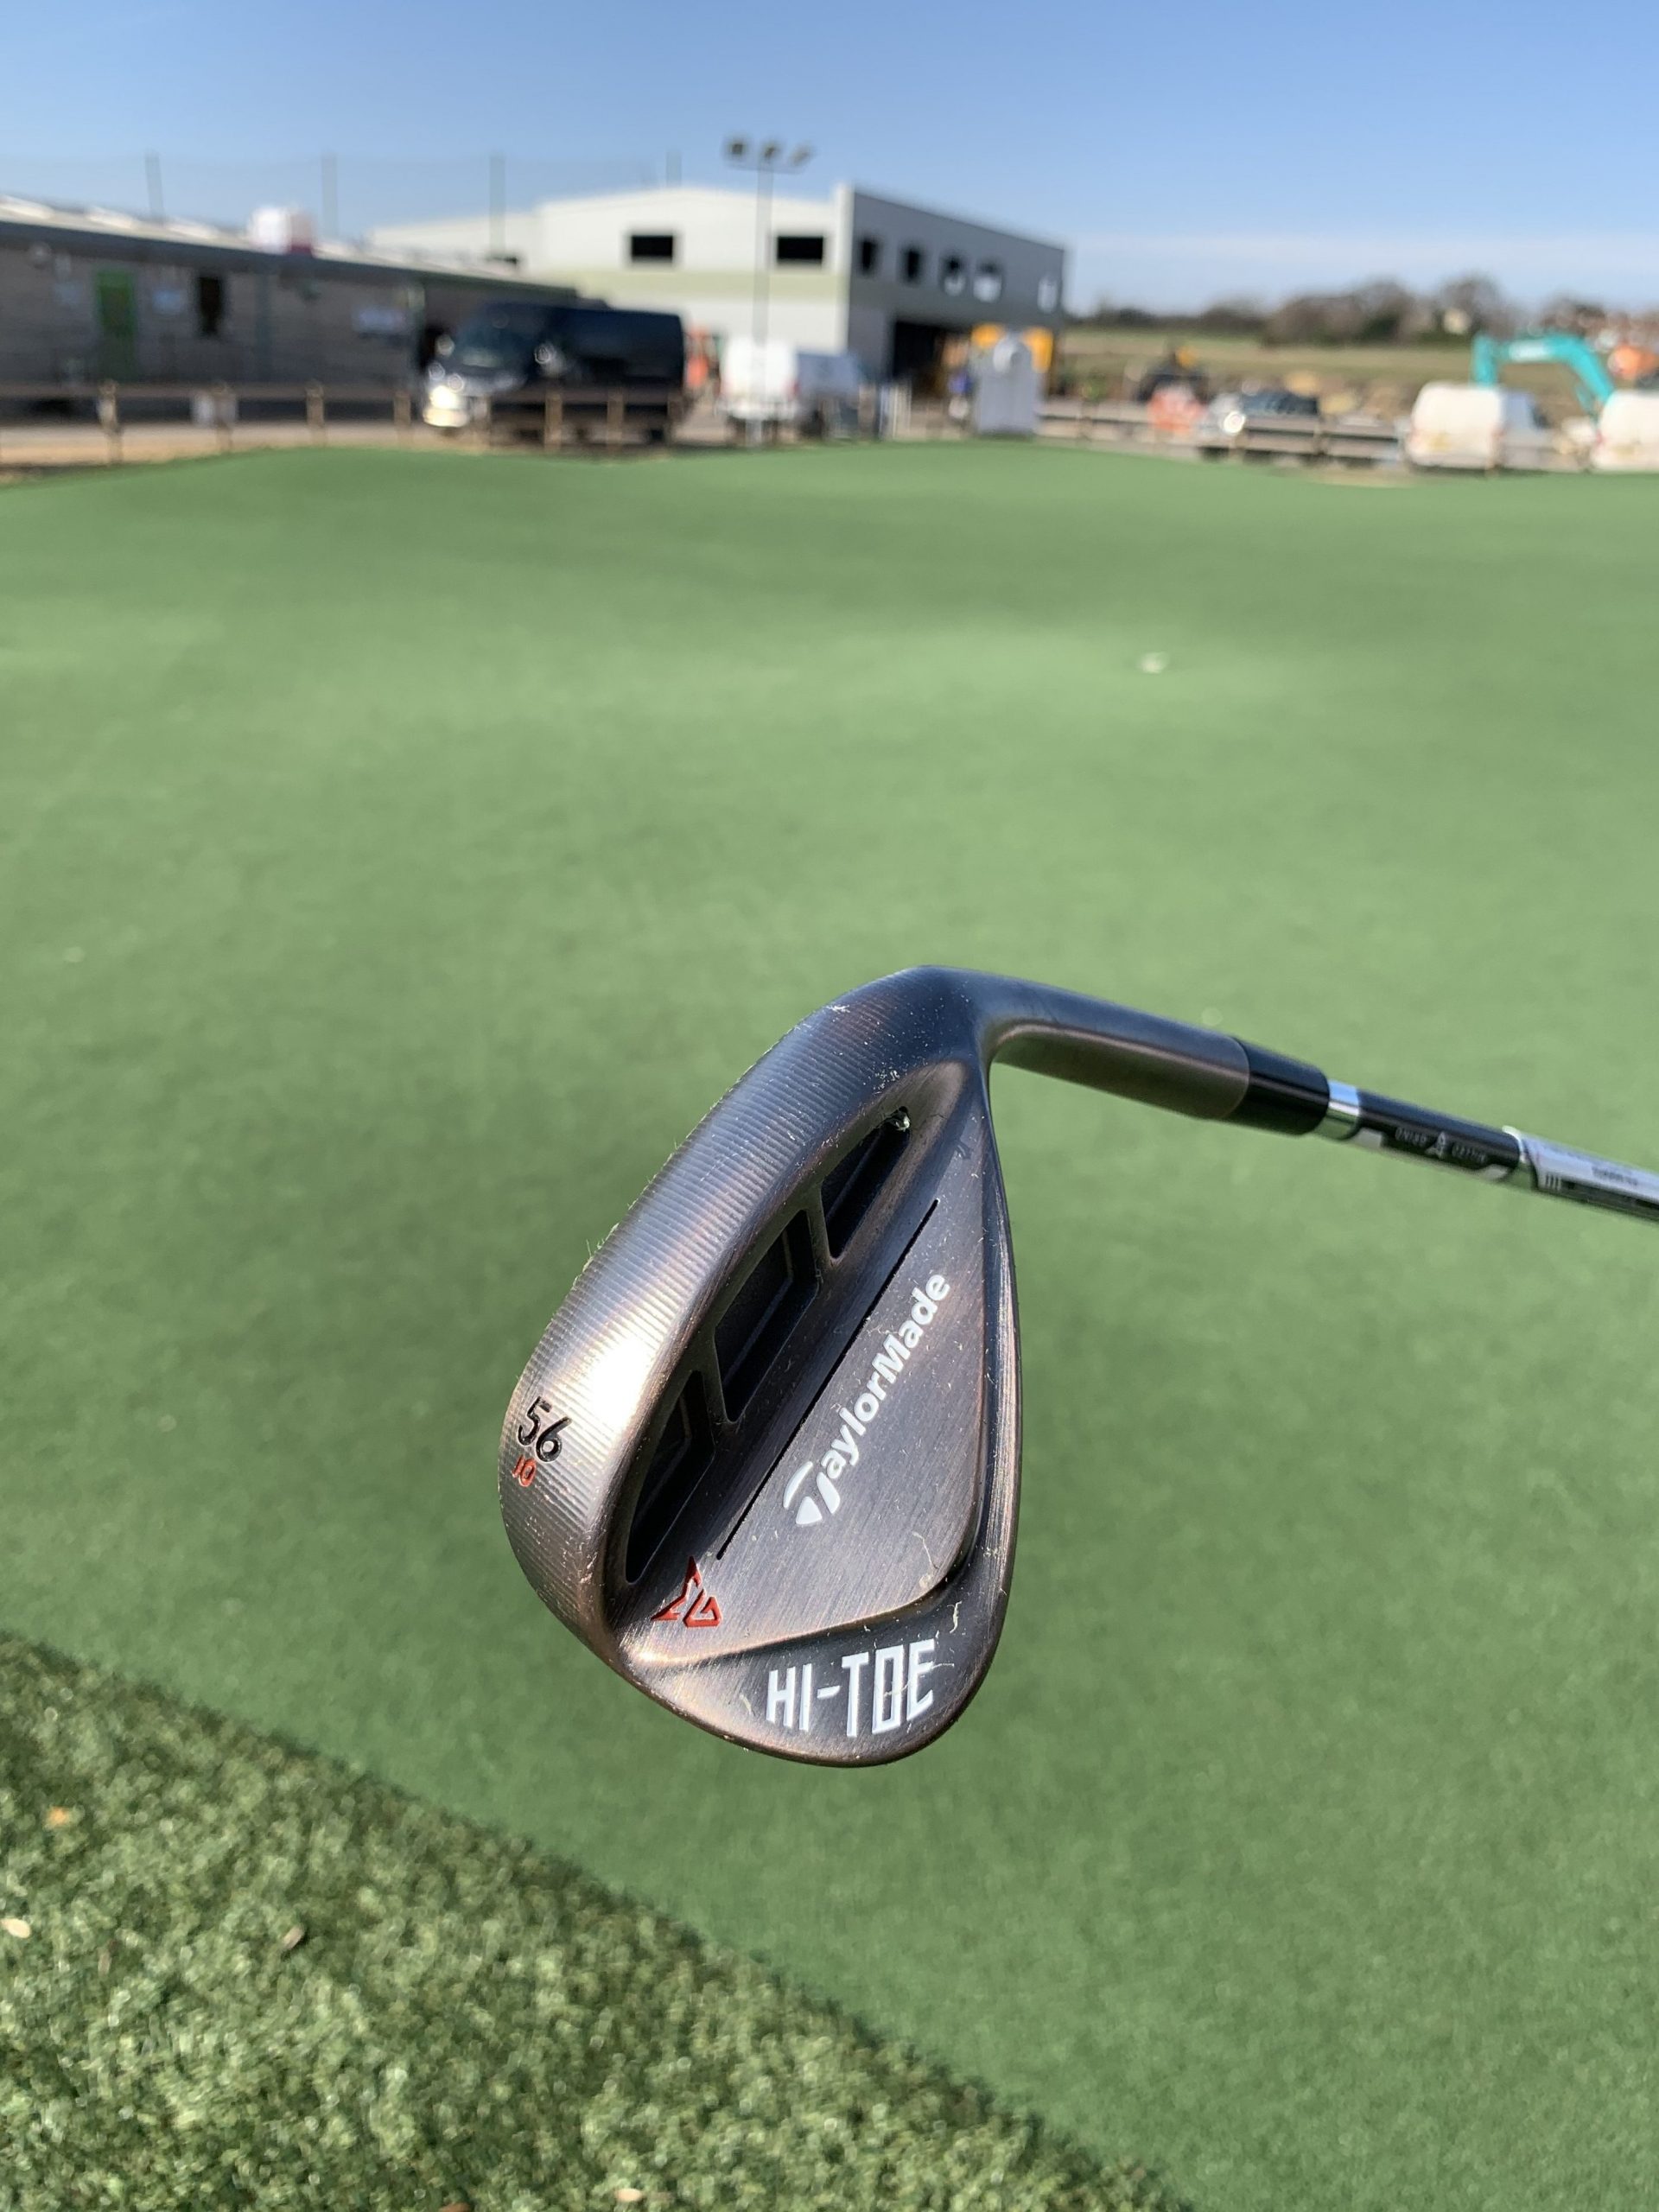
This week we are going to try some different kinds of shots all with the same club. I decided to demo the new Taylormade Hi-Toe for this shot and I have to say I was very impressed. If any of you have seen me present short game seminars before, last years model of this club has been my go-to wedge for demonstrations. It’s extremely versatile and just looks stunning.
The finish on the 2021 Hi-Toe has a slightly more dull or tarnished copper finish because of its “raw” properties. The face is designed to rust over time maintaining spin rates and the spin also remains a lot higher in the rain. Great for golf in the UK! These can be fully custom fitted and comes in a large variety of lofts and sole designs to help you with your short game.
3 Shots with one club
Now lets get into the good stuff. How can you play a variety of different shots, all with one club? The maximum loft I carry in my golf bag is 57* (56* with 1* extra loft) so I very often need to manipulate the clubface. I love my 56* “sand wedge” and use it for lots of shots around the green. I’m going to share with you how I play a variety of different shots with this club. Each one is better for certain lies, just off the edge of the green.
Back of the stance, closed clubface
This is a great shot to use if you’re not feeling confident, have a tight lie, or just want to see the ball come out a bit lower than usual. I also use this shot when the ball is sat on top of a fluffy bit of grass to prevent the club sliding straight underneath the ball.
Start with the ball position towards the back foot, this should naturally get your hands ahead of the ball. Slightly close the clubface to take the bounce off the bottom of the club. This will mean that the leading edge of the club sits more flush to the ground lowering the chances of thinning it through the other side of the green. Slightly lean your weight into your front foot to encourage a descending angle of attack. The loft on the club is now lower meaning the launch angle will be lower. It is likely that the ball will continue to run when it hits the ground so this shot is a bit more like a chip and run.
Centre of the stance, neutral clubface
This is the standard chip shot for just off the edge of the green. This is the shot I encourage people to master before they try to manipulate the clubface or ball position. I use this shot most often because it’s the one I’m most comfortable to play through practice and has the highest margin for error. This shot should generate a good amount of loft and spin and can be used for most lies.
Set up with the ball position through the middle of the feet with the hands slightly ahead of the ball. Lean a little bit of weight into the front foot to encourage a descending angle of attack. Because the ball position is in the middle of the stance the low point of the arc of swing should be at the ball meaning a crisp strike. You should be presenting a moderate amount of loft meaning a moderate launch and spin. The ball should pop up in the air and spin a little on the first or second bounce.
Front of the stance, open clubface
This shot comes with a much higher risk and requires a lot of practice. It can be used to get out of a tricky situation when you’re short sided with minimal green to work with. Because you are opening the face you are exposing the bounce on the bottom of the club and therefore exposing the leading edge of the club. This means that the chance of thinning the ball through the green has increased significantly. I would never recommend playing this shot from a tight lie around the edge of the green, the risk is too high!
Set up with the ball position favouring the front foot and the hands in a neutral position. Don’t try to push the hands forward for this shot as this will take off loft and make it very awkward. Lean a little bit of weight into the front foot. Because the ball position is forward of centre, the ball is past the low point of the arc. Getting the weight into the front foot is crucial as we want the club to slide through the grass under the ball. By the time the club gets to the ball more loft should be presented. This means the ball will pop up in the air quickly and should stop quickly when it lands. This is due to a steeper landing angle.
How to practice
When you can next practice your short game grab three balls and hit them all from the same position using the three different techniques. Using all three should allow you to see which would be best to different pins. It will take time and practice to master all three but they can all come in handy on the golf course. Try to use them when you can get on a golf course (very soon hopefully) and see which one works best for you. Try to make sure that you trust the shot you’re trying to attempt. Uncertainty and doubt is a killer on the golf course, especially around the greens so choose a shot type and trust it!
I’m looking forward to seeing you all practice this at Windmill very soon.
If anyone would like to sharpen up their short game or any other parts of their game ready for the season, my diary is now open from the 29th March! Just follow the link below.
https://my.setmore.com/bookingpage/ae56cbfd-3863-44e0-aceb-2a90bfd7225e
Cheers,
Josh